
You possess the finest jewelry pieces, and the moment has arrived to introduce them to the world stage. But you are worried because your jewelry background always seems to steal the limelight from your jewelry pieces. But fear not because background removal is a solution to this dilemma.
In this article, you will get to know the step by step guide to jewelry background removal in detail. Get to know two distinct ways to remove background from a jewelry in a single go. Let’s rush underneath to the key details.
Jewelry Background Removal With Magic Wand
You can complete your jewelry background removal task within a few seconds with the right use of a magic wands tool. But things can go south, if you don’t know the right step by step guide to jewelry background removal. Let’s have a look at how to remove the jewelry background with a magic wand.
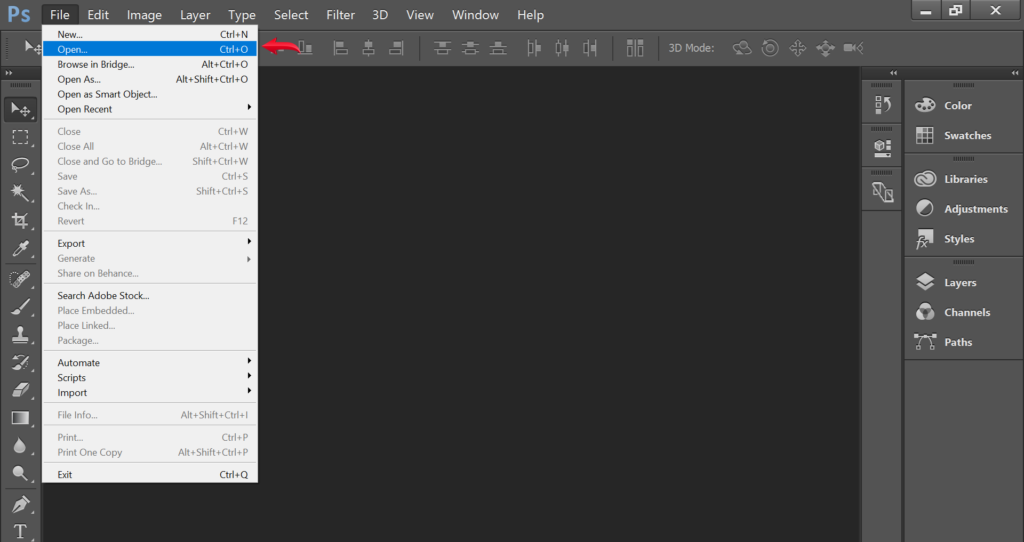
Open Image
Launch the Adobe Photoshop and open the image containing the jewelry piece. Make sure that the jewelry image is of high quality. Otherwise, the accurate jewelry background removal with a magic wand will get harder for you.
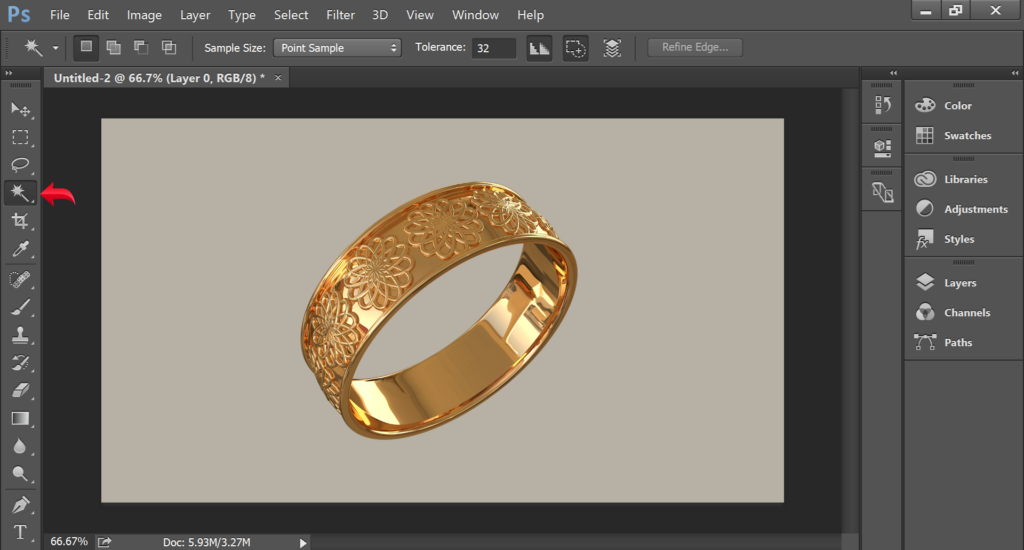
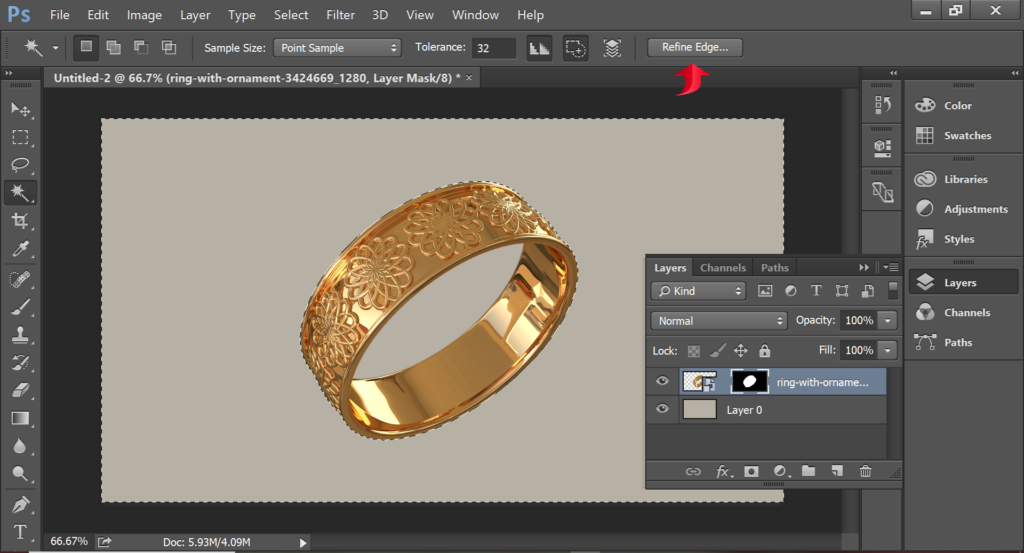
Use Quick Selection Tool (Magic Wand)
Locate the Quick Selection Tool (Magic Wand) in the Photoshop toolbar. You can also use the shortcut key “W” and select it. Once the tool is activated, click on the Magic Wand icon in the options bar at the top of the screen.
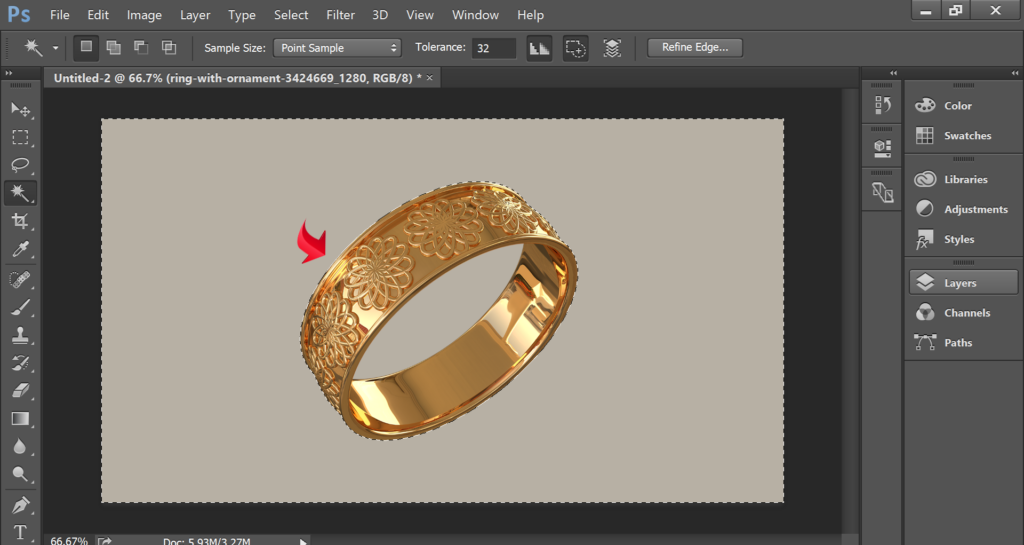
Make the Selection
Click and drag the Magic Wand tool over the areas of the background you wish to remove. Adjust the Tolerance setting in the options bar. Also, control the tool’s sensitivity according to color variations. Higher values will select a broader range of colors, while lower values will limit the selection to similar colors.
Choose Output Option
You have completed the initial selection using the Magic Wand tool. Right now, you need to refine the edges for a cleaner result. Navigate to the Select menu and choose “Refine Edge.” Fine-tune the jewelry background selection with it. Pay close attention to jewelry pieces with gemstones or fine metalwork.
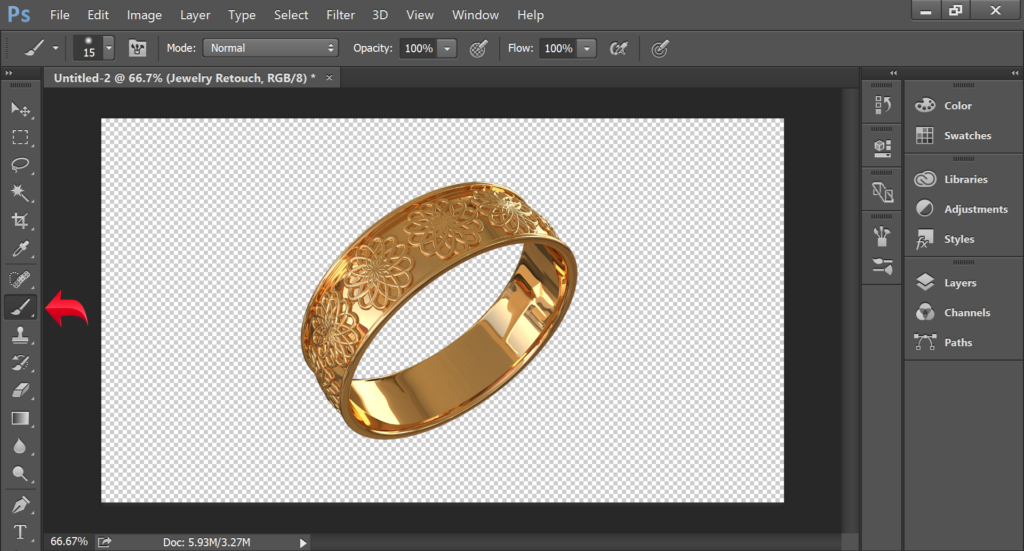
Manual Cleanup
Even after refining the selection, you may find areas in the jewelry background image that haven’t been completely removed. You need to use the Adobe Brush Tool for manual cleanup of the remaining background. Select a soft brush with a suitable size for the finishing jewelry retouch.
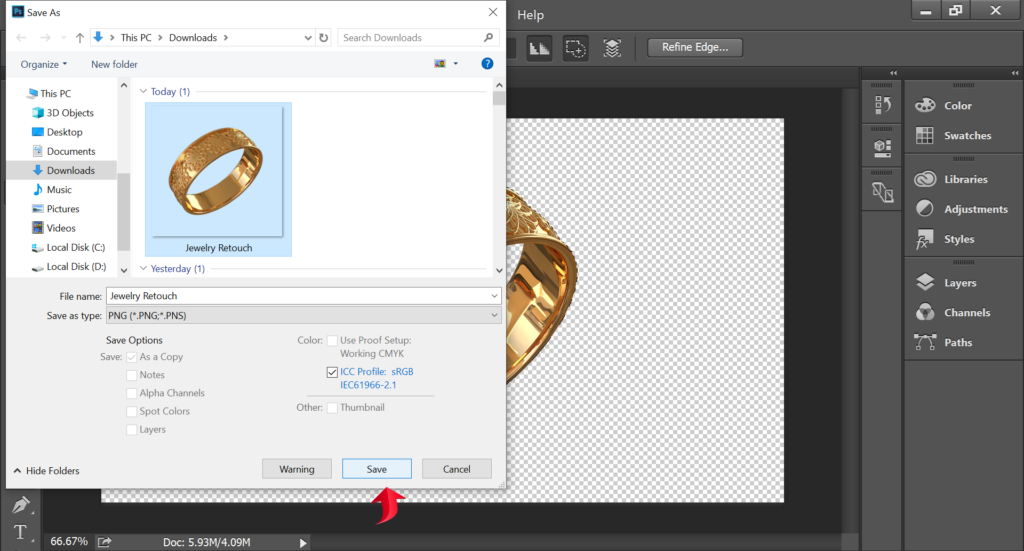
Save the File
Once you are satisfied with the background removal and cleanup process, it’s time to save your edited image. Choose the desired file format and compression settings based on your intended use. For maximum flexibility, you need to consider saving the image in PNG or TIFF.
Jewelry Background Removal With Pen Tool
Magic wand tool is meant for automatic selection. But if you are dealing with cluttered backgrounds in your jewelry pieces, then you need to work with a pen tool. It will give you more control over the jewelry background removal. The whole process is shared below in a step by step guide for jewelry background removal.
Load the Image
Launch the Adobe Photoshop and open the jewelry image that you wish to edit. Always try to work with high resolution images. It will assist you well during the jewelry background removal process.
Use the Pen Tool
Locate the Pen Tool in the Photoshop toolbar and select it. You can also use the shortcut key “P” to automatically select the Pen Tool. Use the pen tool and create an outline of the jewelry piece. Create anchors and adjust the curves as needed by clicking and dragging the anchor handles.

Convert Path to Selection
Once you have closed the path around the jewelry piece, right-click on it and select “Make Selection” from the dropdown menu. Also, adjust the Feather Radius if necessary to soften the edges, then click “OK” to convert the path to a selection.

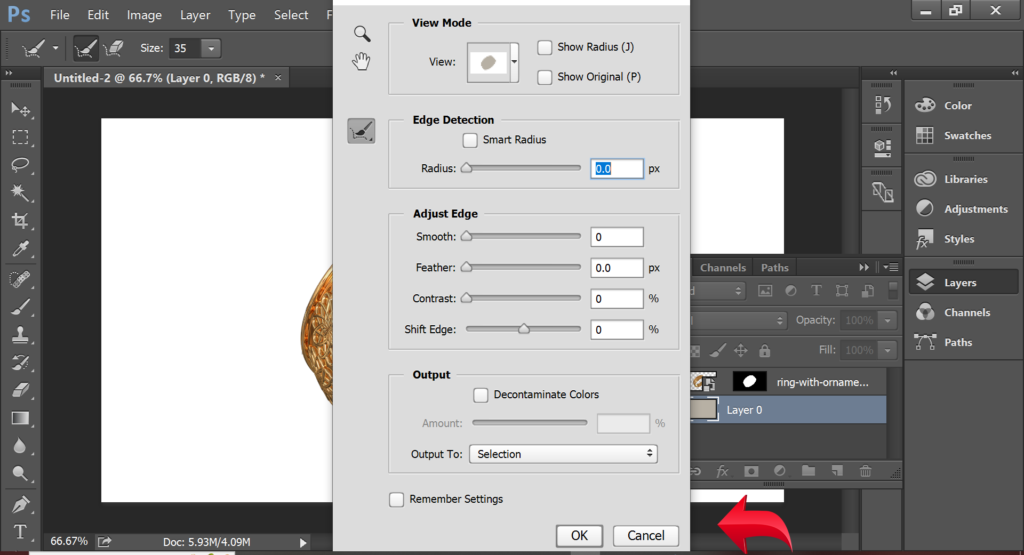
Refine Edge (if needed)
Depending on the complexity of the jewelry piece, you may need to refine the edges of the selection further. Navigate to the Select menu and choose “Refine Edge.” Adjust parameters such as Radius, Smoothness, and Feather to fine-tune the selection edges as per requirement. Pay close attention to intricate details like gemstones or fine metalwork.
Create Layer Mask
Click on the “Add Layer Mask” button at the bottom of the Layers panel. This action will create a layer mask based on your selection. It will remove the background layer and lock only the jewelry image.

Manual Cleanup
Further, zoom in on the image and use a soft brush tool on the layer mask to clean up any remaining background areas. Pay attention to areas where the background may still be visible or where the selection edges appear rough.
Job Done
Once you are satisfied with the background removal and cleanup process, it is time to save your edited image. Choose the desired file format and compression settings based on your intended use. PNG and TIFF are considered the right option to save jewelry images without background.
Common Mistakes To Avoid During Jewelry Background Removal
Removing the background from jewelry images is important to enhance the presentation and appeal. Various common mistakes can compromise the quality of the final result. Some of the common mistakes to avoid during step by step guide for jewelry background removal are shared below.
- Failing to accurately select the jewelry piece can result in parts of the background being left behind.
- Always pay attention to gemstones, and delicate engravings to avoid loss of important visual elements in the final image.
- Not refining the edges of the selected jewelry piece properly can result in a jagged or unnatural appearance.
- Not focusing on shadows or reflections will make the final jewelry image appear unrealistic.
- Rushing through the background removal process without taking the time to refine the selection.
Conclusion
You already know the full step by step guide to jewelry background removal. I tried to share with you the knowledge that you need to create stunning jewelry product images. If you are not so familiar with this kind of work, then you can always contact jewelryretouch.co.
Never compromise with the quality of your jewelry images. It is the decision point to break or make a new brand. Stand apart and ahead in a competitive jewelry market. Keep coming back for more updates shortly.
Frequently Asked Questions (FAQs)
Can the Magic Wand tool perform precise jewelry background removal?
The Magic Wand tool in Photoshop is useful for basic background removal. But it is not so good when it comes to precise jewelry background removal tasks. You need to choose pen tools and do manual background removal for more control over the selection process.
How should I save jewelry after background removal without losing quality?
You should save jewelry images in formats like PNG or TIFF to avoid losing quality. These formats are known to image integrity and allow further editing without loss of quality. Other formats will lose quality and also the appeal of the actual image.
When do you need masking for jewelry background removal?
Masking for jewelry is needed for dealing with complex backgrounds, transparent elements, reflections, shadows, and fine details. On the other hand, the Magic Wand tool will work mostly with neutral jewelry backgrounds. Masking is the best way for jewelry background removal in most cases.